|
OWNER/BUILDER: Joe Matthews
REGISTRATION:
April 25, 1999:
I have plans set number 734 and after much preparation, I am starting to build my
first parts. Its exciting. When I joined the EAA in 1968, I wanted to build my own
aircraft. It turns out that there were some other things that I needed to do first
and now, 31 years later, the task has begun.
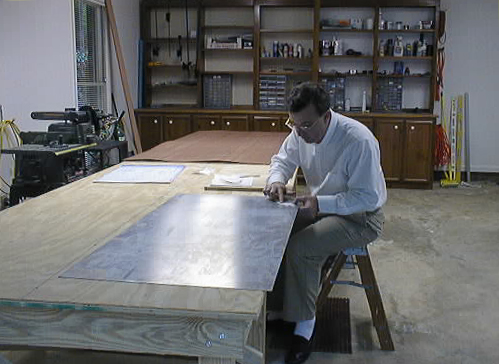
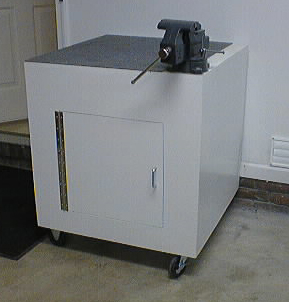
I started by cleaning and painting the garage and the adjacent small
workshop. I needed to replace some tools and organize what I had. I built the cube
that Tony Bingelis recommended in one of his books. Its plywood and the cube is 30
inches on each side. I applied a vise and some carpet to the top. Inside it is storage.
I had thought of putting the tools on the wall using pegboard, the way that my dad did.
The idea of a mobile tool "wall" came later so now they are on wheels. The welding table
was next. I welded it with gas from steel. Half the top is steel plate and the other half
is firebrick. All that was left was to build a workbench and the big building table. Now
that the plans are here, I have those hundreds of hours invested.
Getting ready like this has helped with the work habit, too.
I am building the jig for the wing ribs. I thought that I would use your
high-tech design. It makes sense.
April 26, 1999:
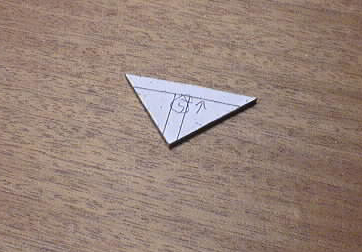
I have started making parts. Well, jigs at least not tables or tool storage devices.
This picture is the D-block for the leading edge. I am making an aluminum template to
cut them out with a router.
I found the poly tape and I agree that $111 is a budget buster compared to the $7 for
the poly.
May 11, 1999:
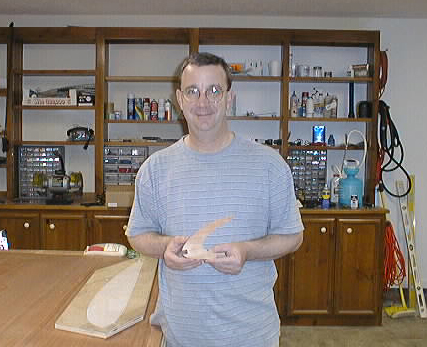
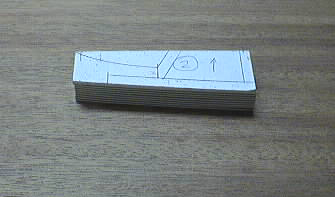
The progress has been slow but there is progress. I am amazed at what one learn from
each step and even from the really mundane steps at that. I had never made templates.
OK, what could be so hard. I made a set for the nose block for the rib. I wanted to cut
these with a router or the router table, thus they would all be alike. The first set of
templates were practice for the real ones. They work great and the nose block thus made
is very nice, if I say so myself. (Picture attached) I made a Tony Bingelis capstrip
bending block. Boiled the capstrip for 15 minutes and applied the bend.
I am taking your idea of the high tech jib and adding my own twist. My jig will look
like a standard one but will incorporate the lucite that you suggested. I appreciate
the help offered by the other builders on the forum.
Well, back to the shop.
May 31, 1999
Recent weeks have been occupied with problem solving. Nothing extraordinary, just the
same problems that all Hatz builders have worked on, or will. The rib jig has taken what
appears to be final form. I adapted your "High Tech" jig by way of the acrylic covering
and blocks. Gluing the acrylic blocks to the jig is a snap with the solvent cement.
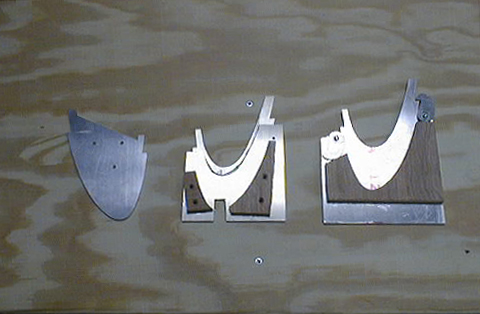
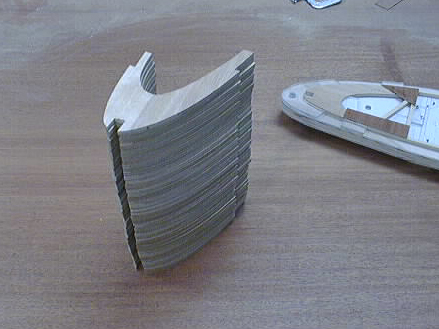
I figure that we need about 1400 gussets for the wing ribs and making them one at a time
seemed like quite the job. I made a xerox of the rib drawing and cut out the gusset forms
with an X-acto knife. I attached them to a piece of .125 aluminum 2024 T3. I cut each out
rough with a bandsaw and smoothed to the edge or the gusset form with a disc sander. Now
I have 17 templates which are exact forms of the rib drawing gussets. Matching the finished
gussets to the template is easy. This produces very uniform
gussets. Using these templates, I can cut out stock with the table saw and sand stacks
of 10 or so to final shape. I have organized the finished product in a drawer set to
keep them strait. I am getting enough substrate made that I will be making ribs shortly.
June 28, 1999:
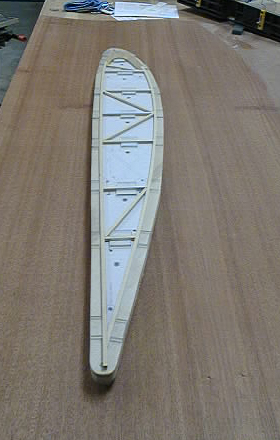
I had an interesting experience in the early stages of building Hatz 734. I completed a
bunch of wing rib parts and assembled the first rib. The jig worked like a charm. I made
some measurements given some message traffic about the spar distances and the compression
tubes. Well, Its not right. Where did I go wrong. It could not be off that much.
I had taken the original plans to a blueprint shop and had good copies made. I have several
copies of the rib plan sheet. It was one of these that I cut out and stuck to the plywood
for the jig. I did not take in to account the optical distortion which the blueprint shop
included at no extra shop. I layed the first rib on the original plans sheet and it is
simply not the same. Its thinner with a more rounded bottom. The difference is that the
rib is "fish eye" distorted. The rib matches the copies but not the original. I am glad
to report that the loss is one jig and one rib. And, quite a few hours.
Starting the new jig today. Working from the originals from here out.
(Important tip here from Joe, Hatz Nutz! Double-check those full-scale print copies when
you get them back from the duplicator. Sometimes those folks don't pay any attention to
maintaining scale. If needed, hammer home the point to them BEFORE they make the copies!
Then, when you get them, hold each up to the light with the original behind it. They
should match perfectly. If not, don't accept them. - Doug)
|